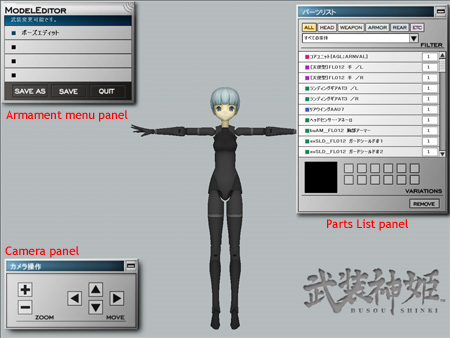
In part 1 of the Diorama Studio Model Editor guide, I showed you how to select a CG model and select a preset starting pose. I ended the guide at the Model Editor armament screen:
In this guide, I’ll show you how customise your CG model.
If you haven’t added any Busou Shinki access codes, you will only have access to the accessories included with the free Ninja Fubuki CG model.
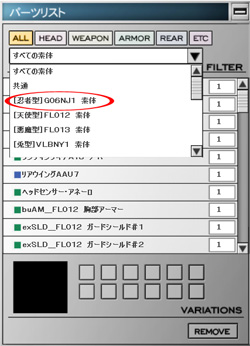
Let’s take a close look at the Parts List panel.
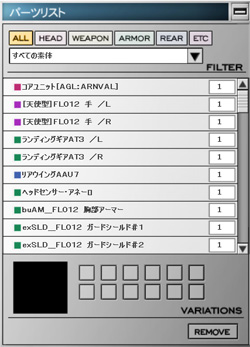
You can filter the parts by type or character. This is useful when you’ve added a lot of access codes from Busou Shinki sets. In the screenshot above, you can see the Parts List is filled with parts from several Busou Shinki sets.
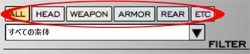
To filter parts by type, click on the buttons I’ve circled in red below.
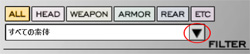
To filter parts by character, click on the triangle (circled in red) to see a drop-down list of characters.
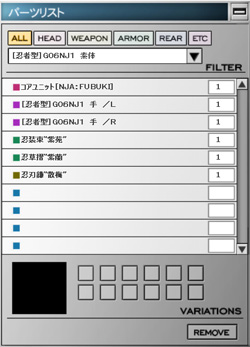
Select Ninja Fubuki (circled in red) as the filter.
The Parts List panel should look like this:
Selecting parts
Let’s take a close look at Ninja Fubuki’s parts.

As you click on each part on the list, it’s highlighted in pale blue. In addition to that, a preview of the part appears at the bottom of the Parts List panel and a yellow hotspot appears on the CG model.
The yellow hotspot denotes the location on the CG model for the selected part. Some parts (e.g. weapons) may attach to more than one location on the CG model and thus the CG model will have multiple hotspots whenever those parts are selected.
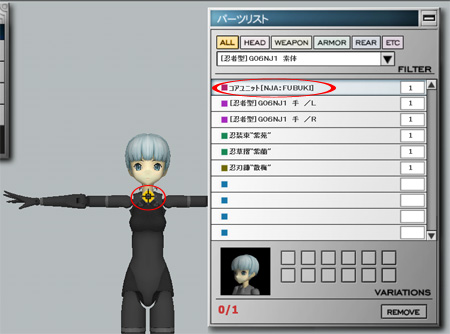
In the above screenshot, I’ve selected Ninja Fubuki’s head (circled in red) in the parts list so the yellow hotspot (circled in red) appears on the neck. Since Ninja Fubuki only has a single head, you have no further options for this particular part.
However, Ninja Fubuki does have several variations for her hands. To see them, select Left Hand (circled in red) in the Parts List panel.
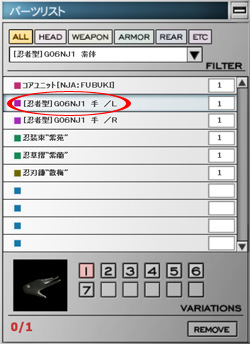
Take a look at the bottom of the Parts List panel:
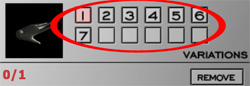
The buttons are for variations for the selected part. Ninja Fubuki, for instance, has seven different left hands. Click on each button to see the part variation in the preview window on the left of the buttons.
We’re now going to attach one of the left hands to the CG model.
Moving the camera
You’ll notice the yellow hotspot on the left wrist is obscured by the Parts List panel. Use the buttons on the Camera panel to move the camera so that the yellow hotspot on the left hand is visible.
Alternatively, you may move the mouse left or right while the left mouse button is pressed to move the model. To zoom the camera in/out on the model, move the mouse up or down while the left mouse button is pressed. To rotate the camera around the model, move the mouse while the right mouse button is pressed.
If you’d like to reset the camera to its original position, click on the Home key on your keyboard.
Attaching parts
Once you’re positioned the camera so the yellow hotspot on the left wrist is visible, select the pointing left hand, which is the sixth variation (circled in red below).
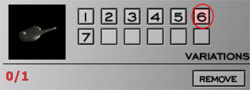
We’re now going to attach this hand to the CG model.
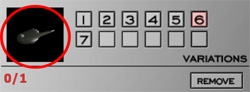
To attach a part to the CG model, left-click on the part in the preview window (circled in red) in the Parts List panel:
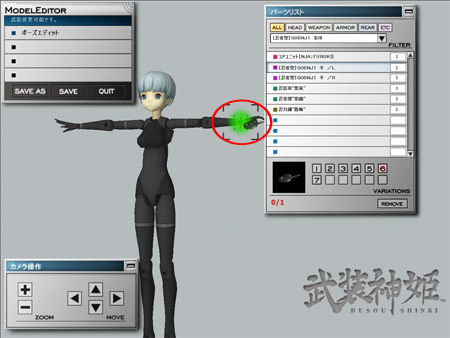
Now without releasing the left mouse button, drag the mouse pointer (which should have the part attached to it) to the yellow hotspot on the left wrist of the CG model.
When the part is over the yellow hotspot, the hotspot will be highlighted and change colour from yellow to green to indicate you may attach the part there:
Release the left mouse button and the part should now be attached.
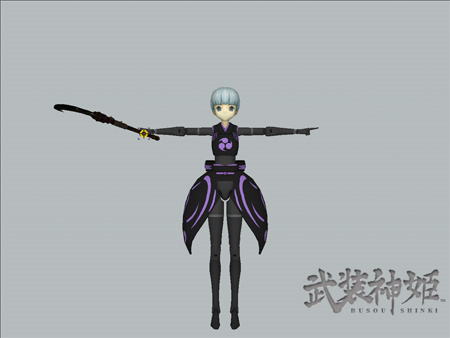
Now go ahead and equip Ninja Fubuki with the chest and waist armour pieces and put the scythe in her right hand.
The figure should look like this now:

If you’d like a clearer look at the CG model, use the Shift+F1 keyboard command to hide all the panels.
Hit Shift+F1 again to display the panels. You may also use the F1, F3 and F4 keys to display/hide individual panels on this screen.
Saving a pose
Now that we’ve equipped Ninja Fubuki, it’s time to save the changes. To do this, click on “Save As” in the menu panel.
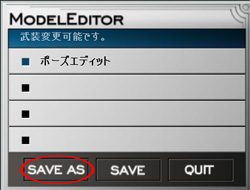
You should see this panel:
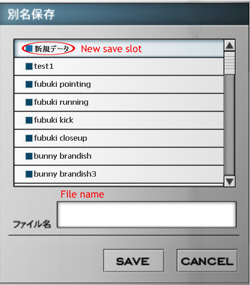
Make sure the new save slot option (circled in red) is highlighted then give your pose a name in the File Name text field. There’s a 16-character limit for the file name and you may use English text. Click on the “Save” button to save your pose and parts equipped data.
In the next guide, I’ll show you how to edit the poses.
