In previous Diorama Studio Model Editor guides, you learnt how to select a CG model, select a starting pose and customise the CG model with parts.
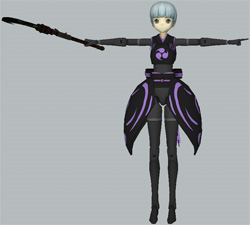
In this guide, you’ll learn how to pose the CG model. We’ll go from this humdrum default pose:
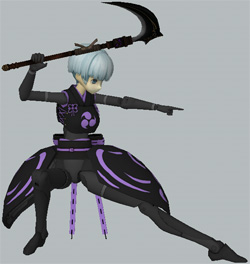
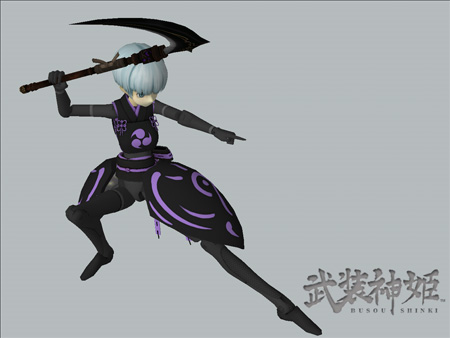
To this dynamic pose:
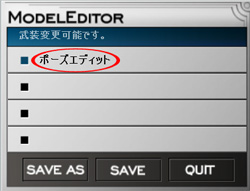
In part 2 of the Model Editor guide, I left you at this Armament Edit screen:
Now that we’ve equipped Ninja Fubuki, it’s time to edit the starting pose. To do this, go to the Model Editor Pose Edit screen by clicking on the menu panel option circled in red.
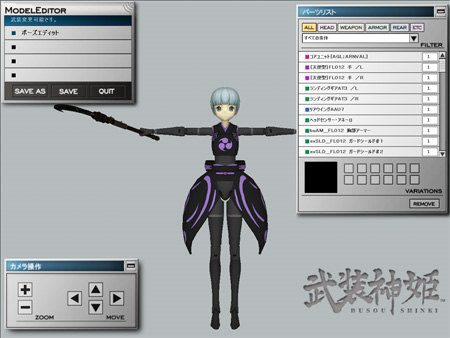
The screen should now look like this:
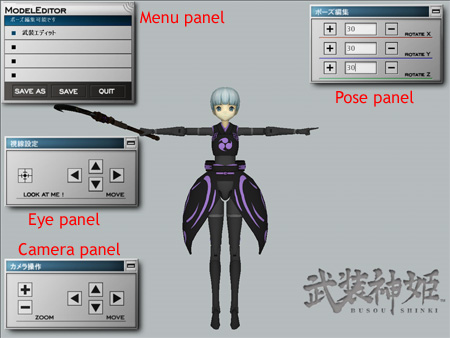
Let’s take a close look at the four panels on the screen.
This is the Pose Edit menu panel.
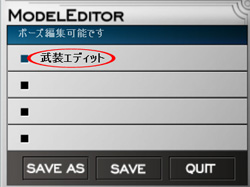
Click on the option circled in red to return to the Armament Edit screen if you need to add or remove parts from the CG model. The “Save As”, “Save” and “Quit” buttons should be easy enough to understand.
The next panel of interest is the Eye panel.
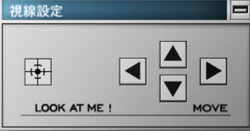
The four “Move” buttons move the eyes up, down, left and right while the “Look At Me!” button makes the eyes look in the direction of the centre of the screen.
This is the Camera panel.
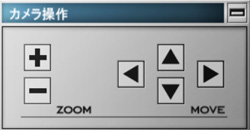
The buttons move the camera or zoom in or out on the CG model. Alternatively, you may also press the left mouse button and move the mouse left or right to move the camera. To zoom in or out, press the left mouse button and move the mouse up or down. To rotate the camera around the CG model, press the right mouse button and move the mouse about. To reset the camera to the original position, press the Home key.
Finally, this is the Pose panel.
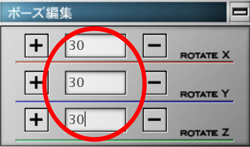
The “+” and “-” buttons move a selected joint in three different axes: X, Y and Z. By default, the joint moves by 30 degrees but you can change this value by setting an amount between 1 and 90 in the numerical fields circled in red. I prefer to use a value of 15.
Strike a pose
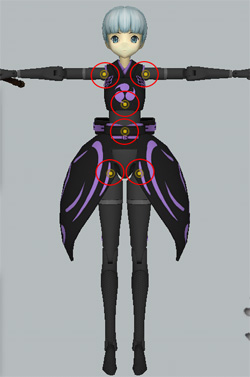
We’re now going to move a joint.
First, move the mouse pointer all over the CG model. Various yellow hotspots should begin pulsing on the figure. These correspond to joints on a Busou Shinki action figure.
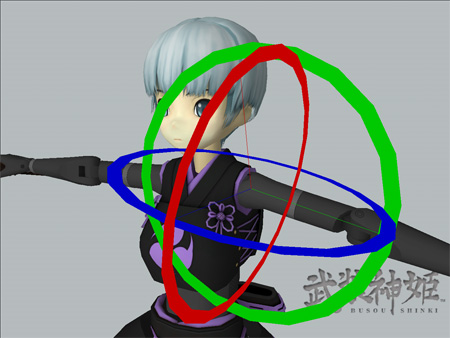
Move the mouse pointer over the hotspot on the left shoulder of the CG model and left-click. You will now see this:
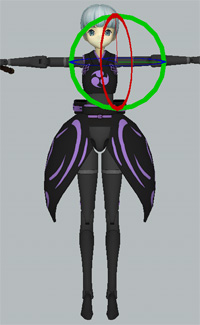
The three guide circles (red, blue and green) represent movement in three different axes. Move the mouse pointer inside those circles, press the left mouse button and with the left mouse button still pressed, move the mouse in various directions. You should see the left arm move at the shoulder joint.
To deselect a joint, press the right mouse button.
Unfortunately, moving a joint in three axes simultaneously with the mouse is imprecise and frustrating.
Here’s a better way to move a joint.
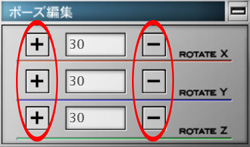
Click on any of the “+” and “-” buttons on the Pose panel when a joint is selected to move it about in a specific axis with a specific degree of movement.
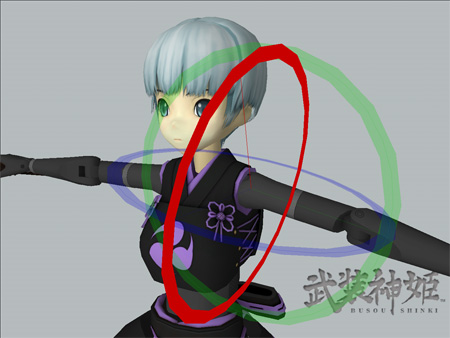
The third way is to move the joint with the mouse one axis at a time. This is my preferred method as it offers the best tradeoff between speed and precision. To do this, press the Spacebar when a joint is selected to cycle through the red, blue and green guide circles individually before cycling back to all guide circles. When the individual guide circles of a joint are selected, the joint can only move in that axis when manipulated with the mouse.
In the screenshot below, all guide circles are active:
In the screenshow below, only the red guide circle is active:
Note that not all joints have the same degree of movement. For instance, the elbow and knee joints only move in single axis and are limited in the degree of movement as well.
Also note that some weapons and armour have parts which can be moved around. For instance, the side skirts and ribbons on Ninja Fubuki’s waist armour can be positioned and so can the scythe.
If you need to hide the panels in this screen, use the Shift+F1 keyboard command. Hitting Shift+F1 again will display all the panels. If you need to display/hide individual panels in this screen, hit F1, F2, F3 or F5.
Save
Once you’ve put Ninja Fubuki in a simple action pose, save your changes. You may either choose to overwrite the current file or save your changes in a new file. Since the pose data (which includes both the pose and the parts equipped) takes up very little space — the save file for the above pose takes up less than 15KB — I’d recommend saving changes in separate files.
If you click on the “Quit” button without saving your changes, this message pops up:
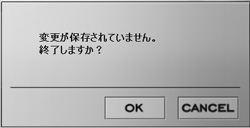
Press the “OK” button to quit to the main menu without saving and “Cancel” to cancel the Quit command.
In the next guide, I’ll show you how to use Diorama Studio’s Diorama Viewer to put your posed CG model in a diorama background and take a screenshot.
