Konami’s Diorama Studio is a remarkable piece of software that allows you to pose CG models based on Busou Shinki action figures to create a virtual diorama. It’s like having a virtual action figure on your PC and coming up with cool poses and dioramas with the CG models is as much fun as playing with actual action figures.
The software is a free download and it even includes a free CG model, Ninja Fubuki. If you own Busou Shinki sets, you can add the access codes found in those sets to obtain CG equivalents of those sets’ figures and accessories. Additional items to customise figures can be purchased from Konami’s online shop.
In previous guides, I showed you how to create a Konami ID, display Japanese text correctly on a non-Japanese edition of Windows XP and finally, download, install and launch Diorama Studio.
I’m now going to provide a few guides on how to pose a CG model, create a diorama and add access codes from Busou Shinki sets.
In this guide, I’ll show you how to select a Busou Shinki CG model in the Diorama Studio Model Editor and select a preset starting pose.
Selecting a body
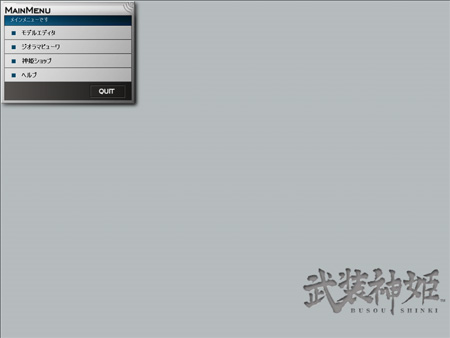
This is the first screen you will see in Diorama Studio after launching the program and logging in:
The Main Menu panel has the following options:
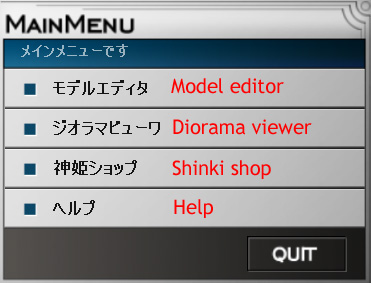
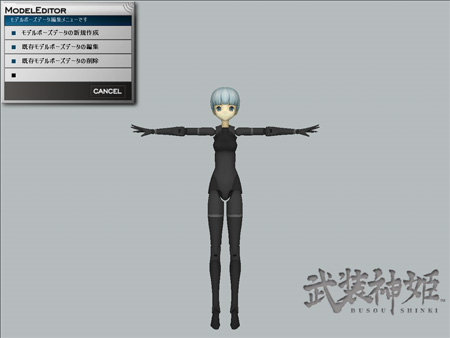
Click on the Model Editor option. You will now see this screen:
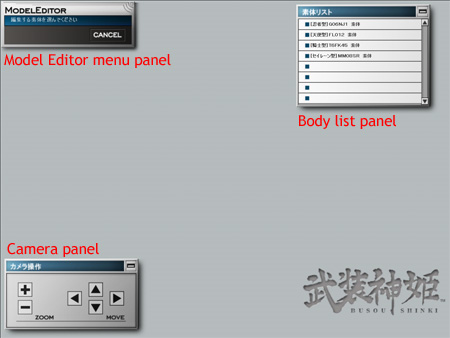
Let’s take a closer look at the Body list panel:
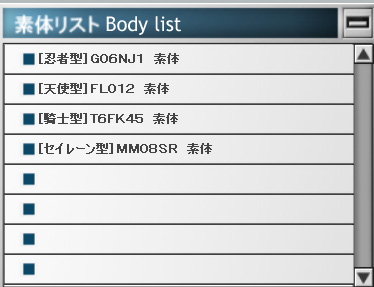
Here’s where you select a body type from a list. If you haven’t added any access codes, you should only see Ninja Fubuki, the free CG model included with the program, in the list.
Click on that to highlight the selection in pale blue. The Ninja Fubuki CG model will now load. Your screen should look like this:

Use the buttons on the Camera panel to move the camera about and zoom in or out. You may also use the cursor keys on your keyboard as well as Shift+cursor key and CTRL+cursor key commands to move the camera, rotate the model and zoom in or out.
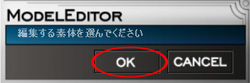
Take a look at the Model Editor menu panel. It should have an option for “OK” once you’ve loaded a CG model from the Body list. Click on “OK” to select the current CG model.
Model Pose Data
You should now see this screen:
Here’s where you load a starting pose for the CG model you’ve selected.
Let’s take a closer look at the menu options:
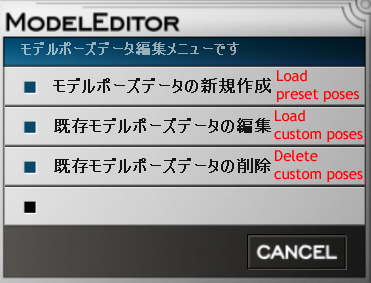
You wouldn’t have any custom poses in the beginning so let’s take a look at the preset poses for now. To do this, click on the Load Preset Pose option which I’ve circled in red below.

You should now see this screen:

The Present Pose List panel currently has six preset poses. These are meant to be starting points and you may freely modify the poses to your heart’s content later. We’ll stick with the Default Pose (circled in red) to start with.

Once again, you can use the Camera panel (and the cursor keys) to view each preset pose from various angles.
The Preset Pose menu panel should have “OK” as an option once you’ve selected a preset pose.
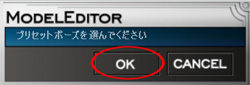
Click on “OK” and you will see this screen:
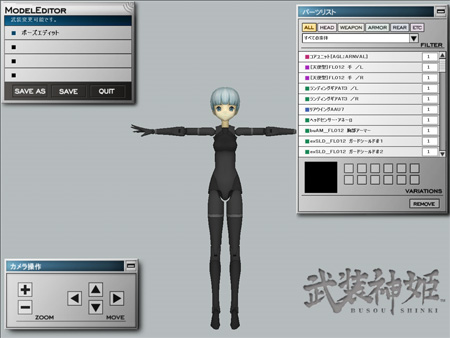
Here’s where you add accessories to the CG model and modify the starting pose.
I’ll leave that for part two of this guide.
