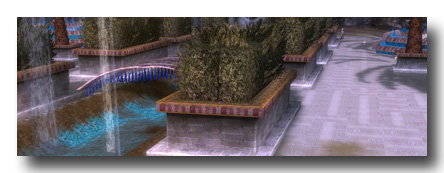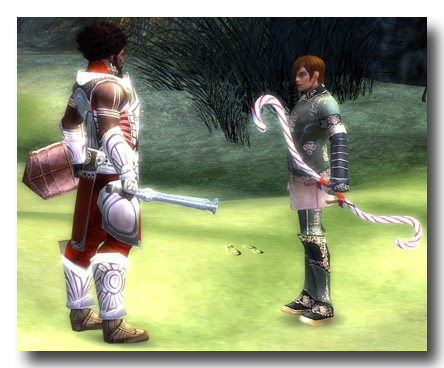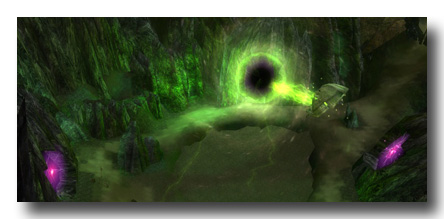
I found Jennur’s Horde troublesome back when I first tried the Guild Wars Nightfall mission in 2006 and I found it nightmarish as I attempted it in Hard Mode on Saturday. It took hours to beat this mission and I’m at a loss to explain why.
The foes are certainly faster and stronger in Hard Mode but I’ve earned Master’s rewards for 44 Hard Mode missions before Jennur’s Horde so I should have adapted to that by now. I also had the added advantage of knowing the mobs in the mission as well as the abilities of individual foes so I shouldn’t have had as bad a time of it as I did. Yet, I did and I’m still not quite sure why.
Perhaps it was due to the fact the last mission I played required aggressive moves and I was still locked in that mindset when I tackled Jennur’s Horde a day later. As I noted in my review of Nightfall over a year ago, Jennur’s Horde, even in Normal Mode, requires patience and canny aggro management and unfortunately, I had to learn that all over again the painful and time-consuming way.
The most important thing to bear in mind about Jennur’s Horde is there’s no time limit for the mission. However, players are likely to rush anyway. The reason for that is enemy mobs periodically spawn and make a beeline towards a mission-critical NPC. This might tempt players to quickly wipe out the static mobs that populate the mission map before the next spawned mob arrives.
However, doing that repeatedly will eventually result in situations where players are faced with two mobs — one static and one spawned — simultaneously. It is still possible to emerge victorious from that situation but if the next spawned mob arrives as your heroes and henchmen are critically low on energy and health, you can count on replaying the mission.

I learned (once again) the best approach is to tackle one static mob then wait patiently for a spawned mob to arrive. It’s difficult to resist the urge to move forward as quickly as possible but you have to if you’re to avoid a party wipe.
The trickiest part of the mission is achieving the bonus. To earn the Master’s reward for Jennur’s Horde, you have to destroy two additional Harbingers. The problem is a spawned mob might slip past you as you’re engaged with a bonus Harbinger and its associates. If they outrun you to reach the critical NPC (and given their Hard Mode speed bonuses, there’s a very good chance of that happening), it’s game over.
After numerous trials and numerous errors, I finally figured out the best approach for the bonus was to simply err on the side of the caution. Don’t gamble on taking out an entire bonus Harbinger mob in a single attack. Take out one or two of them — preferably, this would include the enemy healer — then retreat, regroup and prepare for a spawned mob. Once the latter has been defeated, head back to the same bonus Harbinger mob and whittle down them down further before breaking off again. Repeat as needed.
Consumable items and speed buffs would help a lot here but it’s ultimately less about speed and strength and more about patience.
Morah

The next mission I tried gave me some problems as well. Ruins of Morah is a popular place for runners so there’s obviously a cookie cutter build and an easy guide for achieving Master’s. I generally dislike those type of builds and guides, preferring instead to figure out the best approach on my own. One of my favourite aspects about Guild Wars is mulling over a problematic mission then tweaking team builds and individual skillbars. It can be frustrating when you fail again and again — Hello, Jennur’s Horde! — but that simply makes the eventual victory all the more gratifying.
The boss in the Ruins of Morah mission is tough on her own but not by any means undefeatable. The thing is she’s surrounded by three healers and healers are very good at what they do in Hard Mode. Two healers are trouble. Three? Pain, pain, pain.
My approach was to flag my heroes and henchmen at the starting location and then lure the boss towards us. Her healers will not follow if you lure her far enough so it shouldn’t take you long to take her down.
At this point, a whole bunch of enemies spawn. The good news is the new mobs are tiny and you needn’t take out all of them. The bad news is a) time is running out to beat the “second” boss and b) the new enemies have got a nasty trick up their sleeves.
It’s doable but it took me a few tries to bring my time down to beat the Master’s time limit of 10 minutes.
Wurm food
For my final Nightfall Hard Mode mission of the weekend, I tackled Gate of Desolation. This was a walk in the park thanks to the powerful abilities you have at your disposal in the second part of the mission. The Master’s is easy to achieve as well since the three NPCs you need to rescue needn’t be kept alive once you’ve rescued them.

Having reached the halfway point in my quest to gain the Guardian of Elona title, I’m taking a brief break from the game before attempting the tough missions in the Realm of Torment.
